How to
Plague Clown
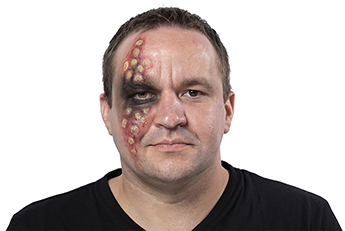
Before
The skin is first prepared with Clean & Care Natural Micellar Water 120 ml to remove all oils from the skin surface.
The skin is first prepared with Clean & Care Natural Micellar Water 120 ml to remove all oils from the skin surface.
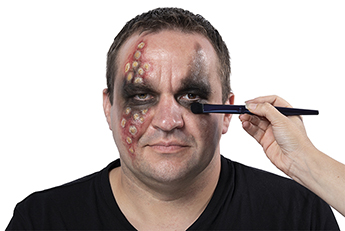
Step 1
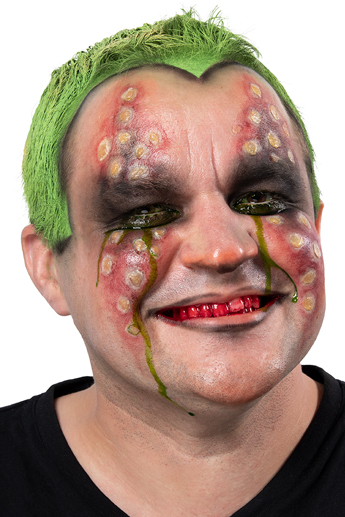
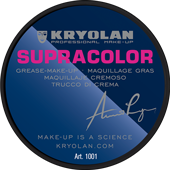
In the first step, make up depressions around the eyes with Supracolor 8 ml (071). Draw triangles, starting from the lower and upper eyelid, to create a distinctive clown look. The color runs from the corners of the eyes and is gently blended.
In the first step, make up depressions around the eyes with Supracolor 8 ml (071). Draw triangles, starting from the lower and upper eyelid, to create a distinctive clown look. The color runs from the corners of the eyes and is gently blended.
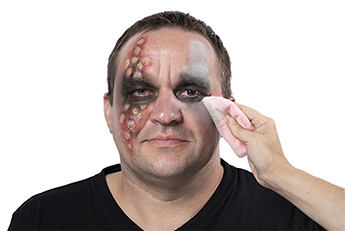
Step 2
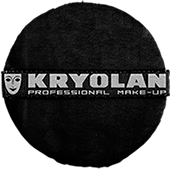
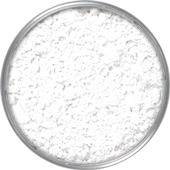
Fix Supracolor with Translucent Powder 60 g (TL 1). Use a Premium Powder Puff Black 8 cm for the application.
Fix Supracolor with Translucent Powder 60 g (TL 1). Use a Premium Powder Puff Black 8 cm for the application.
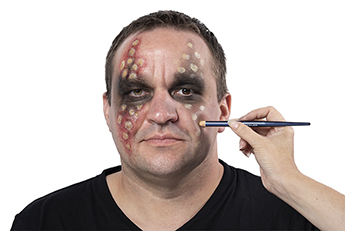
Step 3
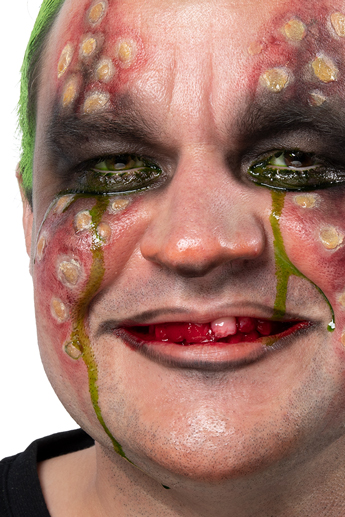
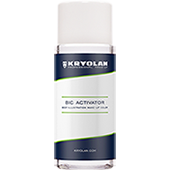
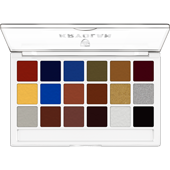
To create the plague wounds, activate the colors 590 and 070 of the Body Illustration Make-up Color Set 18 Colors (FX) with the BIC Activator. Apply the dots with a round brush to the entire area of the triangles under the eyes.
To create the plague wounds, activate the colors 590 and 070 of the Body Illustration Make-up Color Set 18 Colors (FX) with the BIC Activator. Apply the dots with a round brush to the entire area of the triangles under the eyes.
Step 4
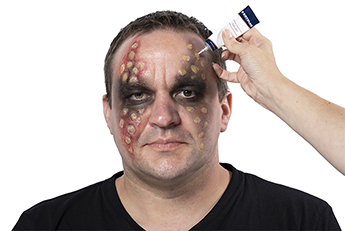
Now, Tuplast comes into play. The product can be applied directly from the tube to the respective pre-drawn dots from step 3. Tuplast dries automatically and can be shaped with a Make-up Mixing Spatula as desired.
Now, Tuplast comes into play. The product can be applied directly from the tube to the respective pre-drawn dots from step 3. Tuplast dries automatically and can be shaped with a Make-up Mixing Spatula as desired.
Step 5
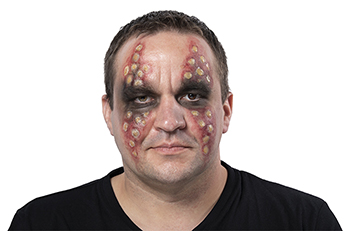
Use the colors Lake, 080, and 082 from the Body Illustration Make-up Color Set 18 Colors (FX) to outline the bubbles created with Tuplast. The colors must be thinned again with the BIC Activator.
Use the colors Lake, 080, and 082 from the Body Illustration Make-up Color Set 18 Colors (FX) to outline the bubbles created with Tuplast. The colors must be thinned again with the BIC Activator.
Step 7
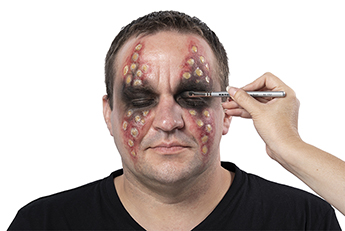
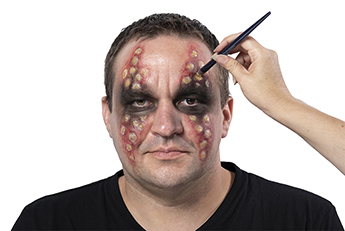
Now, it's time to color the Tuplast. For this, dilute the colors 590 and 070 of the palette mentioned above with the BIC Activator and apply them to the individual Tuplast bubbles.
Now, it's time to color the Tuplast. For this, dilute the colors 590 and 070 of the palette mentioned above with the BIC Activator and apply them to the individual Tuplast bubbles.
Step 8
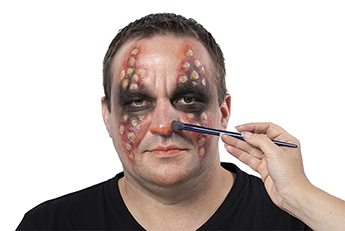
No clown without a red nose! Since we are not working with prosthetics in this make-up, the tip of the model's nose is painted from a mixture of 082 and 590 from the before-mentioned 'FX' palette. Thin the colors with the BIC Activator and apply with a round brush.
No clown without a red nose! Since we are not working with prosthetics in this make-up, the tip of the model's nose is painted from a mixture of 082 and 590 from the before-mentioned 'FX' palette. Thin the colors with the BIC Activator and apply with a round brush.
Step 9
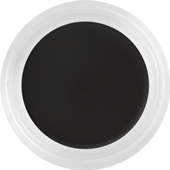
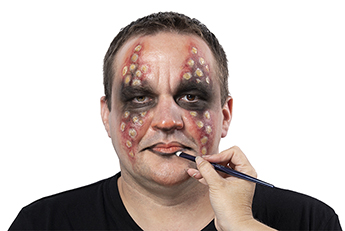
Now draw the lip line with HD Cream Liner (ebony). Emphasize the corners of the mouth and the lower part of the lip. Slightly overdraw the corners of the lips.
Now draw the lip line with HD Cream Liner (ebony). Emphasize the corners of the mouth and the lower part of the lip. Slightly overdraw the corners of the lips.
Step 10
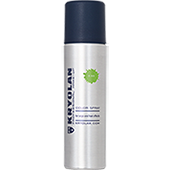
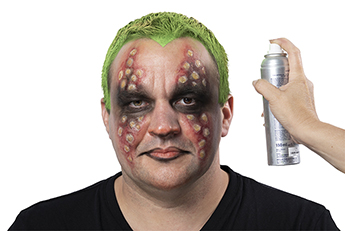
In this step, spray the hair with Color Spray (D 33) and Color Spray (D 37). Hold the can about 30 cm away from the hair and spray it directly.
In this step, spray the hair with Color Spray (D 33) and Color Spray (D 37). Hold the can about 30 cm away from the hair and spray it directly.
Step 11
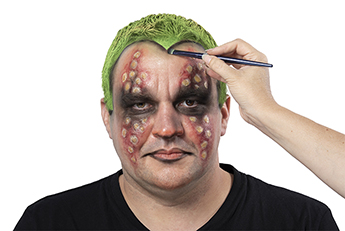
To give the hair a more sculptural effect, trace the roots with HD Cream Liner (ebony). Blend the product out slightly towards the forehead.
To give the hair a more sculptural effect, trace the roots with HD Cream Liner (ebony). Blend the product out slightly towards the forehead.
Step 12
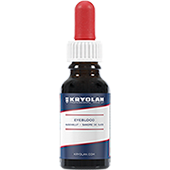
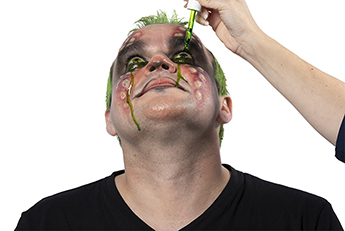
To apply Eyeblood 20 ml (green), ask the model to tilt their head back. Using the pipette provided, drop the Eyeblood directly into the outer corner of the eye while the model looks in the other direction. The product should now run directly from the eye.
To apply Eyeblood 20 ml (green), ask the model to tilt their head back. Using the pipette provided, drop the Eyeblood directly into the outer corner of the eye while the model looks in the other direction. The product should now run directly from the eye.
Step 13
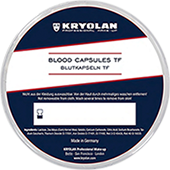
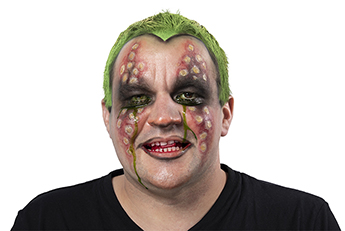
The last step is to use the Blood Capsules TF. After biting 1-2 capsules, the powder colors the saliva bloody red and creates a creepy effect as soon as the model opens the mouth. The product is entirely harmless and can be swallowed without any side effects.
The last step is to use the Blood Capsules TF. After biting 1-2 capsules, the powder colors the saliva bloody red and creates a creepy effect as soon as the model opens the mouth. The product is entirely harmless and can be swallowed without any side effects.

